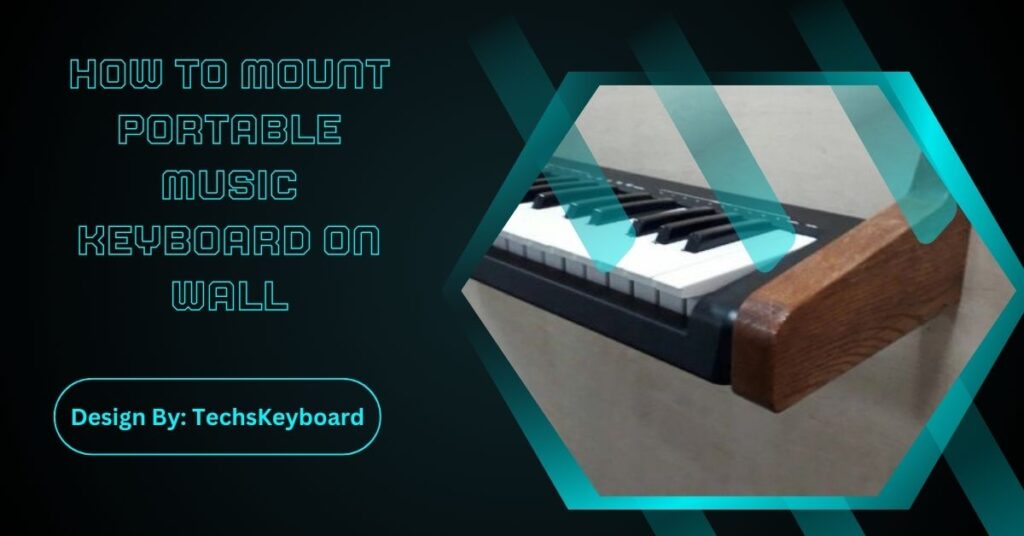
Mounting a portable music keyboard on the wall saves space, protects the instrument, and enhances decor. Using sturdy wall brackets, proper measurements, and securing hardware ensures safety and aesthetic appeal.
Got a portable music keyboard cluttering up your space? Whether you’re tight on room or just want to show off your gear in style, mounting your keyboard on the wall is the perfect solution. It opens up floor space, protects your instrument, and gives your place a cool, organized vibe. Bonus? It’s not as hard as it sounds!
Follow these simple steps to safely and securely mount your portable music keyboard on the wall.
What You’ll Need 🛠️:
Before we get started, gather these essentials:
- Wall-mounted keyboard brackets or shelf mounts (make sure they fit your keyboard’s dimensions)
- A drill with the appropriate drill bits
- Tape measure
- Level
- Screws and wall anchors (if you’re not drilling into studs)
- A stud finder (optional but helpful)
Got everything? Great! Let’s get started.
Step 1: Find the Perfect Spot
First up, decide where you want your keyboard to go. Consider:
- Height: Place it at a comfortable height for grabbing and replacing.
- Proximity: You might want it near your other instruments or favorite workstation.
- Safety: Make sure the spot is away from direct sunlight, heat, or humidity.
Tip 💡: Use painter’s tape to mark the area you’re considering. This way, you can step back and visualize how the keyboard will look on the wall.
Step 2: Measure and Mark
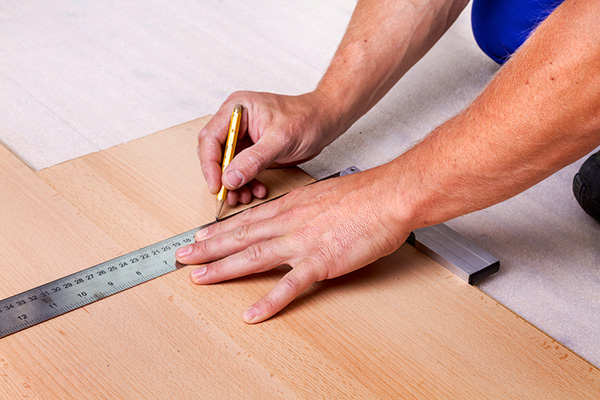
Grab that tape measure!
- Measure the width of your keyboard, so you know how far apart to place the mounts.
- Mark the wall with a pencil where each bracket will go. Use your level to ensure everything lines up evenly (trust me, a crooked keyboard will drive you nuts!).
Step 3: Locate the Studs (Or Use Wall Anchors)
If you’re mounting directly into wall studs, use a stud finder to locate them. Screwing the brackets into studs provides extra security and can handle more weight. No studs? No problem! Instead, use heavy-duty wall anchors to make sure everything stays in place.
Pro tip: Check your keyboard’s weight in the manual, and ensure your mounting hardware can support it.
Step 4: Install the Wall Brackets
Time to get drilling! 🛠️
- Drill pilot holes where you marked the bracket spots. This makes screwing in easier and prevents cracking.
- Secure the brackets to the wall with screws (or into wall anchors if needed).
- Double-check that the brackets are level before tightening fully.
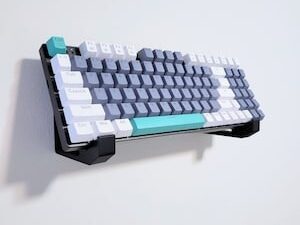
Step 5: Mount Your Keyboard
The moment of truth has arrived! Rest your portable keyboard gently on the brackets or mounts. Make sure it’s stable and balanced before letting go.
If your brackets or mount have straps or locking mechanisms, secure them to prevent any accidental slips.
Also Read: Fintie Keyboard User Guide – Detailed Guide!
Step 6: Admire Your Work
Take a step back and enjoy your newly mounted keyboard! Not only does it free up your space, but it also turns your keyboard into a functional piece of decor. It’s the ultimate win-win.
Bonus Tips for Extra Style:
Want to take your wall setup to the next level? Here are a few quick ideas:
- Add lighting: Install LED strip lights behind or above the keyboard for a modern, dramatic effect.
- Create a music zone: Mount shelves nearby for your sheet music, headphones, or speakers.
- Decorate: Hang some posters or frames on the wall to give the area personality.
Why Mounting Your Keyboard on the Wall is a Game-Changer?
Not convinced yet? Here’s why you’ll love this upgrade:
- Space-saving: Perfect for small apartments or tight music studios.
- Protection: Keeps your keyboard safe from spills, pets, and accidental bumps.
- Showcase your style: It’s a cool way to add some personality to your room while keeping things tidy.
Tips for Choosing the Right Wall Mount:
- Weight capacity: Make sure the wall mount can support the weight of your keyboard. Check the specs!
- Adjustability: Look for a mount with adjustable arms or brackets to ensure a snug fit.
- Wall type compatibility: Confirm your wall can handle the installation—drywall, brick, or concrete may require different approaches.
Also Read: How To Turn On Light On Laptop Keyboard – Explained Guide!
How to Install Your Wall Mount Like a Pro?
- Gather your tools: You’ll need a drill, screws, anchors, and a level.
- Mark your spots: Measure carefully and mark where you’ll drill to keep the mount straight.
- Secure it: Follow the instructions that come with the mount and double-check your work—nobody wants a surprise keyboard crash!
Maintaining Your Keyboard on the Mount:
- Regular dusting: Use a microfiber cloth to keep your keyboard and mount free of dust.
- Check for wear: Inspect the mount periodically to ensure screws and brackets are still secure.
- Stay organized: Keep accessories like pedals or sheet music stored nearby so you’re always ready to play!
How to Mount a Portable Music Keyboard on the Wall for Storage?
Got a portable keyboard cluttering up your space? Let’s get it off the floor and up on the wall where it belongs! Mounting your keyboard is easier than you might think—here’s how to do it:
- Pick the perfect spot: Choose a wall area that’s out of the way but easy to access. Make sure it’s sturdy, and double-check for any studs to provide the best support. Avoid spots near heating vents or direct sunlight; your keyboard deserves better than that!
- Get the right hardware: You’ll need a reliable wall mount designed to handle the weight of your keyboard. Make sure to check its weight limit and grab some heavy-duty wall anchors if you’re not mounting into studs.
- Measure and mark: Hold the mount against the wall and grab a level to ensure it’s nice and straight. Mark where the screws will go—measure twice, mount once!
- Drill and install the mount: Drill pilot holes where you made your marks, then attach the mount securely to the wall using those trusty screws or anchors. Give it a little wiggle to make sure it’s solid.
- Secure your keyboard: Place your keyboard onto the mount and make any necessary adjustments so it sits snug and steady. If your mount has straps or additional supports, make sure they’re secured properly.
FAQs:
1. Why should I mount my keyboard on the wall?
Wall-mounting saves space, protects your keyboard from damage, and adds a stylish, organized look to your room, making it both functional and visually appealing.
2. What tools are needed to mount a keyboard on the wall?
You’ll need wall-mounted brackets, a drill, screws, wall anchors, a level, a tape measure, and possibly a stud finder to ensure a secure and level installation.
3. Can I mount a keyboard on drywall without studs?
Yes, use heavy-duty wall anchors to secure the brackets. Ensure the anchors and screws can support your keyboard’s weight to prevent accidents.
4. How do I ensure the keyboard mount is level?
Use a level while marking and installing the brackets. Double-check alignment before tightening the screws to avoid crooked placement.
5. What are some creative ways to enhance the keyboard wall mount?
Add LED lighting for a modern touch, nearby shelves for accessories, or decorate with posters and frames to create a personalized music zone.
Conclusion:
Mounting a portable music keyboard on the wall is a practical and stylish solution for saving space and protecting your instrument. With proper tools, precise measurements, and sturdy hardware, you can securely display your keyboard while adding a modern aesthetic to your space. Whether in a home studio or a small apartment, this setup transforms your keyboard into a functional decor piece, enhancing both usability and ambiance.